How to Fix Big Scratch on Door

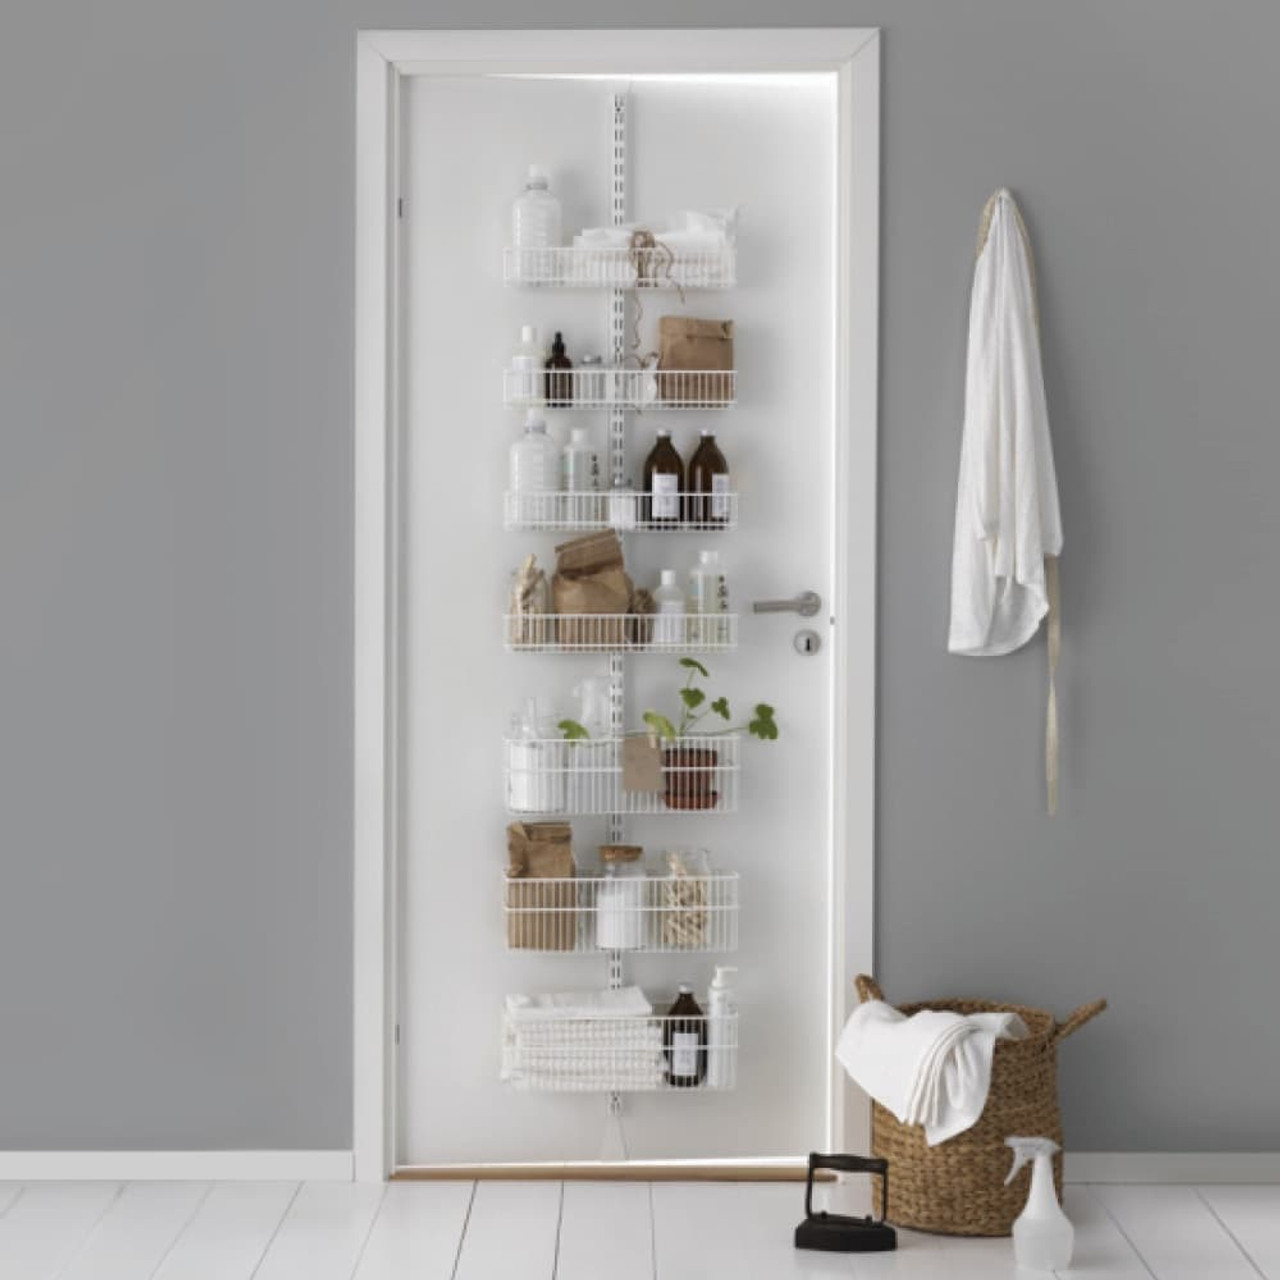
Today I found that an over-the-door system that I have on a door of the place I'm renting (like this) has made a big old scratch into the paint as a result of a loose nail that's been swinging side-to-side.

Pictures of the scratch here

What's the best DIY way to patch this up for someone with zero home maintenance experience? Ideally less than what would be taken out of my bond! Or is this a job for Airtasker which I haven't tried before?

Comments

  • +2

    are you moving out … or will you still be living there

    if you are living there, will it bother you if you don't fix it straight away,

    if you are moving out,
    some fine grit sand paper and smooth the area out, repaint door with appropriate paint for the area.

  • +3

    your going to have to use a light coat of a Spakfilla to fill the void then sand it back flush, one coat of paint on the repaired scratch let dry then paint the whole door

    easy job just let Spakfilla and paint dry before touching it

  • that looks like a groove not just a scratch ?

    • Agree.

    • Groove would be more accurate

  • +3

    Do NOT use sandpaper on this first as it will make it show like the proverbial dogs b**ls.

    The process I have used in the past for small areas is:
    1) First buy some fine filler like the following and fill the area and make sure it is 1 or 2 mm above the rest of the door as it will shrink a little bit and you want to sand it.
    2) Wait for it to dry and get some 120 grit sandpaper and a length of wood that is flat and straight on at least one side and wrap the sandpaper around it so you can then sane the filler flat.
    3) Undercoat the just the area that was filled and then wait for it to fully dry.
    4) Get the paint matches at Bunnings and just paint the area undercoated and wait for it to fully dry
    5) Paint the area again and this time go about 3 to 5 CM around the area repaired and then feather in the new paint for about another 10 to 15cm. Check out https://www.youtube.com/watch?v=KcMR3lnTJOc for feathering in.

    Be aware that if the new paint does not match then you will need to paint the full side of the door instead of doing step 5 above.

    Fine filler:
    https://www.bunnings.com.au/sika-250ml-white-filler-101-fine…
    Dressed pine:
    https://www.bunnings.com.au/42-x-19mm-1-2m-standard-grade-dr…

  • +1

    Bunnings.
    Get some wood filler, something like https://www.bunnings.com.au/timbermate-250g-natural-wood-fil… (comes in different colours but you'll be painting so doesn't really matter). Get some 80 grit sandpaper and maybe 120 grit too. Get the smallest can of undercoat/primer, and the smallest can of the correct coloured paint - likely to be a sample pot for about $10. And one of those small foam rollers.
    https://www.bunnings.com.au/paint-partner-4-foam-paint-rolle…
    https://www.bunnings.com.au/british-paints-100ml-white-prep-…

    Take a good look at the existing paint on the door and suss out if its a high gloss, matt or satin (low gloss) finish coz the sample pot you buy needs to be the correct sheen.

    I think you should get out of Bunnings for around $30?

    Smear the filler all over the scratch with a knife and/or credit card or similar - anything on hand to act as a stiff spatula. Keep about half a millimetre raised from the surface all over the scratch. This is because you'll be sanding later and if you want a choice between a small depression/not enough filler or too much, better to have too much.

    Wait a solid 12 to 24 hours.

    Cut a piece of the 80 grit sandpaper around an old block (you can get sanding blocks from Bunnings too, they're quite handy) and sand away. When its completely smooth with the level of the rest of the door - and makes sure its really smooth - then go over again with the 120 grit to get it even smoother.

    Undercoat. Wait 2 hours. Topcoat with the proper paint. maybe 2 coats.

    Hope you have a good vacuum - the sanding will generate plenty of dust. And just a hint - I suggest NOT actually vacumming the dust. Best to wipe it up with a damp cloth because some vacuums hate fine dust to the point of crapping the motor.

    Don't Airtasker - this is the kind of home maintenance anyone should be capable of and know.

  • Spakfilla and then lightly sand the area

    get a foam roller and use a test pot to cover the repair

  • it's a small area, scratch some more paint off, get it colour matched and just paint it … thickly … let it dry for a couple of days, then do it again … let it dry, do it again …

    small (1L) tin of paint ~ 20$ + 3$ brush … build it up wiht coats of paint (you've got the time to wait for it to dry) …

    • It looks deep from the photo.

  • Looks like some MDF behind the paint.

    Get a sticker for the entire door or this

    Call it an upgrade ;)

  • I would just buy a new door. You can get a primed internal door from Bunnings for less than $40.

    If it is a standard size, then all it needs is a couple of holes drilling, and reuse the handles and hinges. If you don't want to/can't do it yourself, it is a simple job for a handyman off airtasker. His time would be less than filling, sanding, priming etc, and will look a lot better.

  • Despite all the great, in detail advice above I’d probably start with a simpler approach and adjust if it doesn’t look any good. I don’t see the point of going and buying filler, sandpaper, paint, brush etc for a small scratch. If I had those items available, I’d use them though.

    Start with colour match paint and a fine brush, a nail polish brush or similar might do. Just fill the scratch, none over the existing paint. Maybe repeat. It might look good enough to pass inspection, especially if it’s on the back of the door out of sight.

    If it still stands out, then go for filler, sanding etc.

    • +1

      The photo looks like it is deep.

      • Yes, I saw that it doesn’t look good, but what’s the harm in trying just paint can always filll over it if it still looks terrible.

        Also depends on the age and condition of the house. Plenty of budget cosmetic repairs been done on rental properties in the past.

    • its gouged not just rubbed.

    • As AndyC1 and pharkurnell have said, it is somewhat deep, as the whole layer of paint is gone down to the underlying wood, probably about 1 mm depth?

  • Toothpaste mate! Joking I hate when people do this

    • +1

      You forgot gaffa tape and staples for additional strength ! 🚪

  • Fill it. Sand it. Paint it. Cheap and easy.

Login or Join to leave a comment